How to Setup Email in GoHighLevel: Complete Guide 2026
Email marketing remains one of the most effective ways to generate leads, nurture prospects, and increase sales. If you’re using GoHighLevel (GHL), setting up your email system correctly is essential for achieving strong inbox placement and maximizing campaign performance.
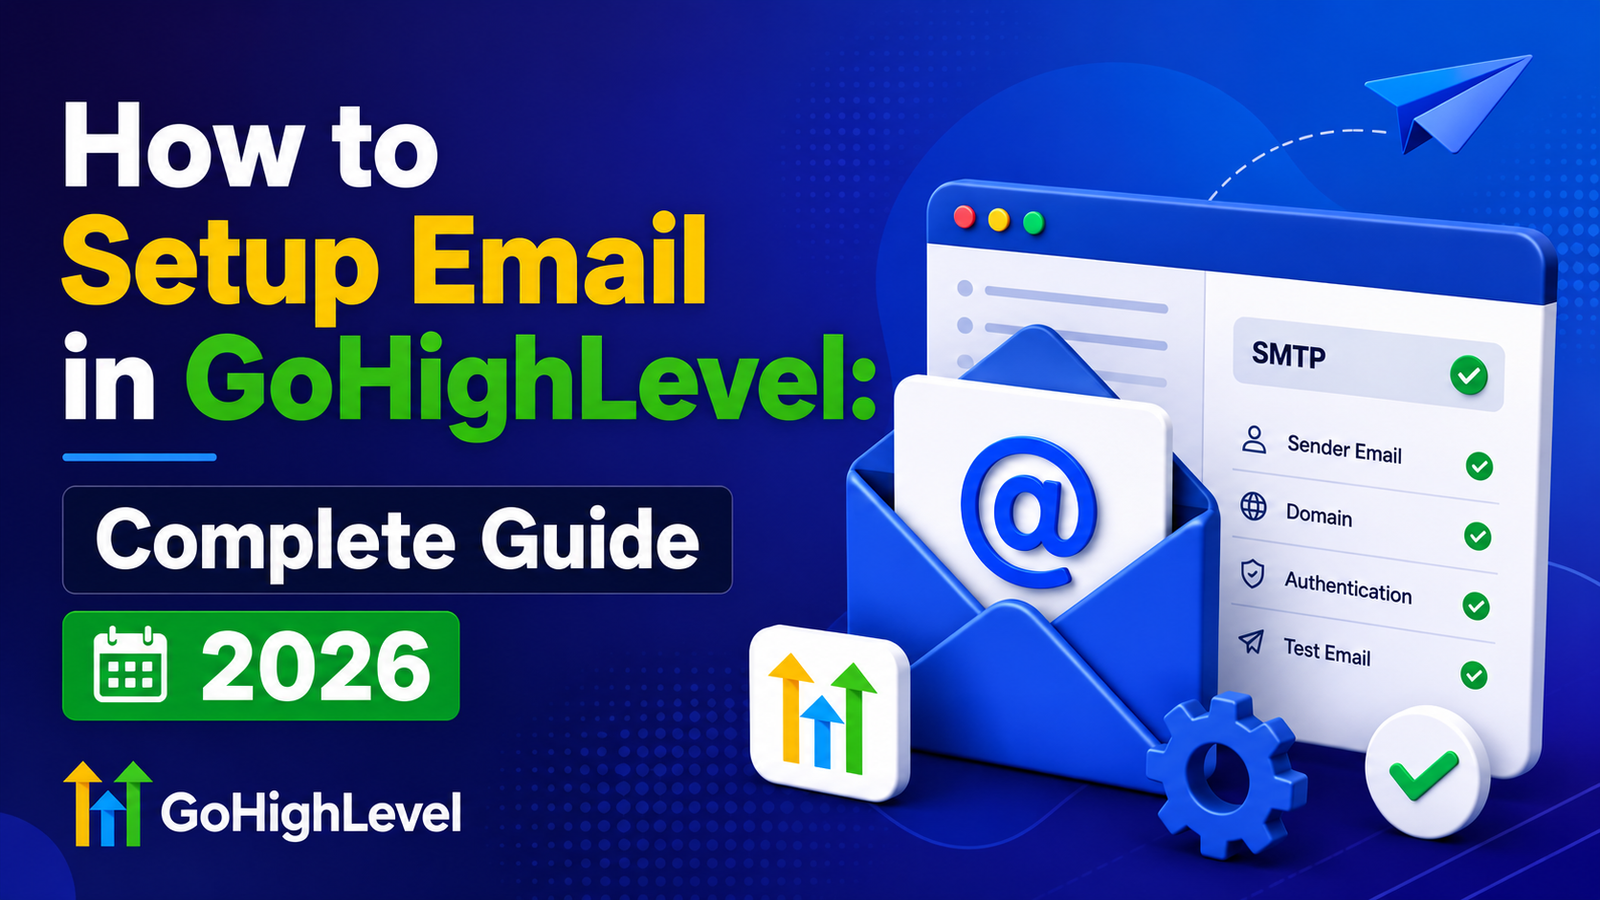
In this guide, you’ll learn how to set up email in GoHighLevel, authenticate your domain, connect SMTP services, create email campaigns, build automations, and improve deliverability.
Why Setting Up Email Correctly in GoHighLevel Matters
Many users jump straight into sending campaigns without properly configuring their email infrastructure. This often leads to low open rates, spam folder placement, and poor sender reputation.
A proper email setup helps you:
- Improve inbox placement
- Increase open and click rates
- Build sender reputation
- Reduce spam complaints
- Automate customer communication
- Manage everything from a single platform
What You Need Before Getting Started
Before setting up email in GoHighLevel, make sure you have the following:
Domain Name
Use a custom business domain such as:
- yourbusiness.com
- companyname.com
Avoid sending marketing emails from free email addresses like Gmail or Yahoo.
SMTP Service
Choose an email sending provider such as:
- SendGrid
- Mailgun
- Amazon SES
- Postmark
You’ll need:
- SMTP Host
- SMTP Port
- Username
- Password
Active GoHighLevel Account
Email functionality is available on most GoHighLevel plans.
Step 1: Access Email Settings in GoHighLevel
- Log in to your GoHighLevel account.
- Open the desired sub-account.
- Navigate to:
Settings → Email Services
or
Marketing → Emails
This is where you’ll manage domains, SMTP settings, templates, campaigns, and email performance.
Step 2: Authenticate Your Sending Domain
Domain authentication is the most important part of email setup.
Without authentication, your emails are much more likely to land in spam folders.
Why Domain Authentication Matters
Authentication tells Gmail, Outlook, Yahoo, and other email providers that you’re authorized to send emails from your domain.
Benefits include:
- Better deliverability
- Improved sender reputation
- Reduced spam placement
- Increased trust with inbox providers
Add Your Domain
- Open Email Settings.
- Click Add Domain.
- Enter your domain name.
- Save the settings.
GoHighLevel will generate DNS records that need to be added to your domain provider.
Step 3: Configure DNS Records
You’ll typically need to add three important records.
SPF Record
SPF specifies which servers are allowed to send emails on behalf of your domain.
Benefits
- Prevents spoofing
- Improves sender trust
- Supports inbox placement
DKIM Record
DKIM digitally signs your emails.
Benefits
- Verifies message authenticity
- Protects against email tampering
- Improves deliverability
DMARC Record
DMARC tells receiving servers how to handle unauthenticated emails.
Benefits
- Protects your domain reputation
- Prevents phishing attempts
- Strengthens email security
Verify Your Domain
After adding DNS records:
- Return to GoHighLevel.
- Click Verify Domain.
- Wait for DNS propagation.
Verification usually takes:
- 5–30 minutes
- Sometimes up to 24 hours depending on your DNS provider
Once verified, you’ll see a successful status indicator.
Step 4: Connect an SMTP Provider
Although GoHighLevel supports built-in sending options, many businesses prefer a dedicated SMTP provider for greater control and scalability.
Popular SMTP Providers
SendGrid
Best for beginners and growing businesses.
Mailgun
Great for developers and API-based workflows.
Amazon SES
Extremely cost-effective for high-volume sending.
Postmark
Excellent deliverability for transactional emails.
Add SMTP Credentials
Navigate to:
Settings → SMTP & Mail Services
Enter:
- SMTP Host
- SMTP Port
- Username
- Password
- Encryption (TLS Recommended)
Save your settings.
Test the Connection
Before sending live emails:
- Click Test Connection
- Send a test email to yourself
- Confirm delivery
If the test fails:
- Verify credentials
- Check SMTP ports
- Confirm domain authentication
Step 5: Create Your First Email Template
Professional templates improve engagement and maintain brand consistency.
Open the Email Builder
Navigate to:
Marketing → Emails → Templates
Click:
Create New Template
Design Your Email
Add:
- Logo
- Headline
- Images
- Content Sections
- Buttons
- Footer Information
Keep layouts simple and mobile-friendly.
Structure Your Content Properly
Use heading hierarchy:
H1
Main email title
H2
Major sections
H3
Supporting sections
This improves readability and user experience.
Step 6: Create an Email Campaign
Once your template is ready, you can launch campaigns.
Create a New Campaign
Go to:
Marketing → Email Campaigns
Click:
Create Campaign
Configure:
- Campaign Name
- Sender Name
- Sender Email
- Subject Line
Select Your Audience
You can target:
- Contact Lists
- Smart Lists
- Tags
- Pipeline Stages
- Funnel Leads
Segmentation improves engagement and conversion rates.
Send or Schedule
Options include:
- Send immediately
- Schedule for later
- Time-zone based delivery
After sending, monitor:
- Open Rate
- Click Rate
- Bounce Rate
- Unsubscribe Rate
- Conversions
Step 7: Build Email Automations
Email automation is where GoHighLevel becomes truly powerful.
Common Automation Triggers
You can trigger emails when someone:
- Submits a form
- Books an appointment
- Misses a call
- Receives a tag
- Makes a purchase
- Enters a pipeline stage
Create a Workflow
Navigate to:
Automation → Workflows
Click:
Create Workflow
Add:
- Trigger
- Delay
- Email Action
- Conditional Logic
Test Everything
Before activating:
- Add yourself as a test contact
- Trigger the workflow
- Verify email delivery
- Check timing and personalization
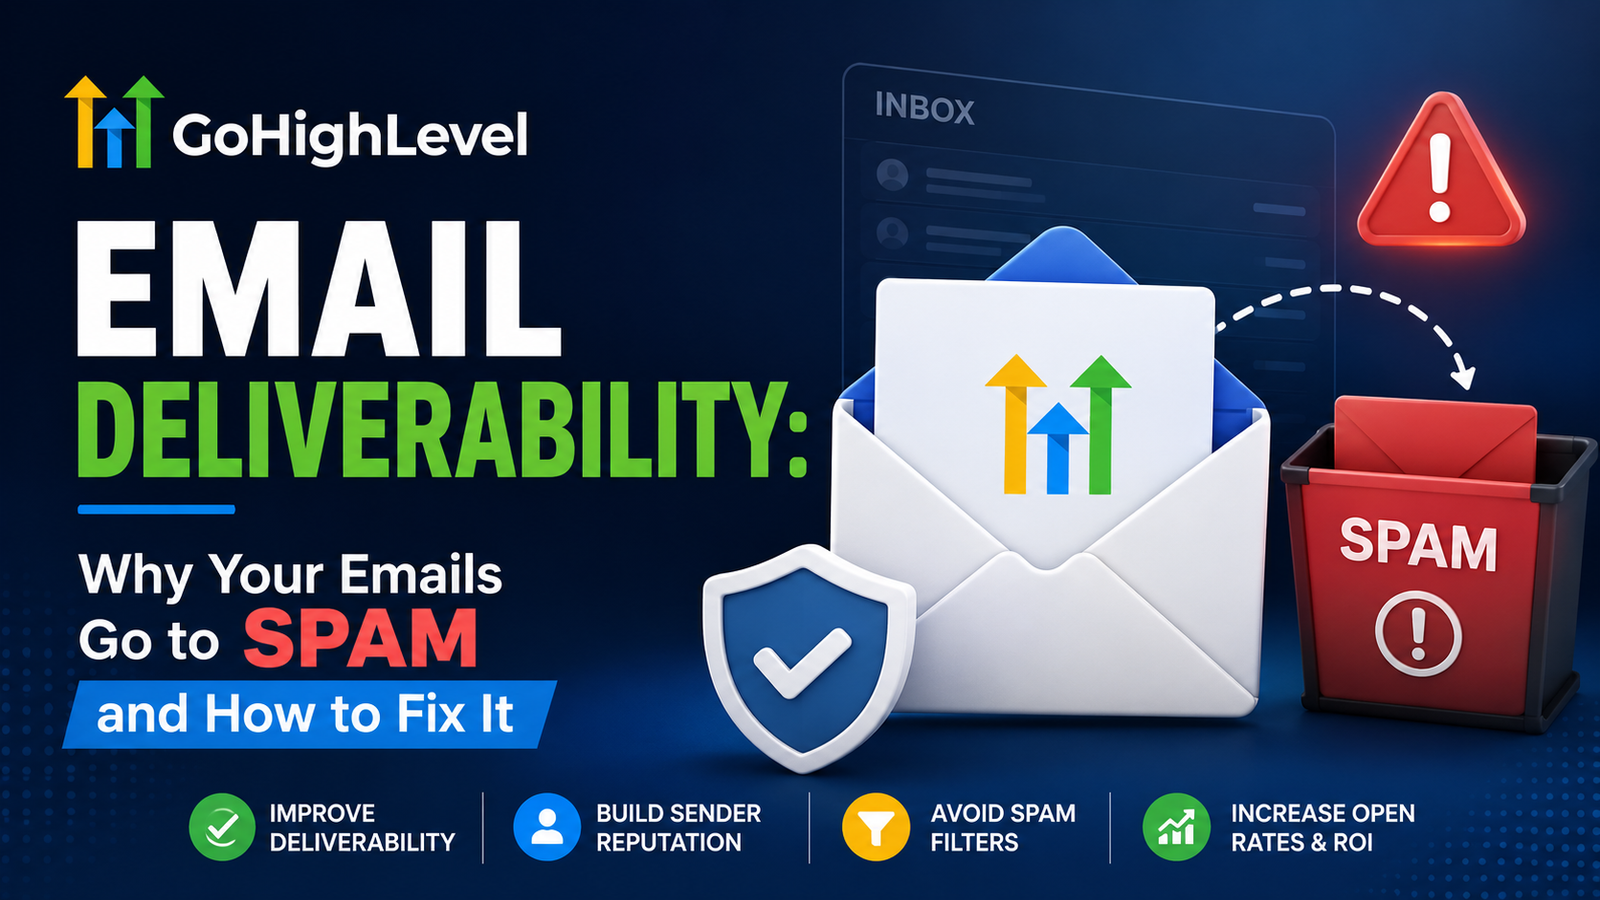
Email Deliverability Best Practices
Even with perfect setup, deliverability requires ongoing maintenance.
Follow These Best Practices
Authenticate Every Domain
Always configure SPF, DKIM, and DMARC.
Warm Up New Domains
Start with smaller sending volumes and gradually increase.
Clean Your Email Lists
Remove:
- Invalid emails
- Inactive subscribers
- Hard bounces
Avoid Spam Triggers
Avoid excessive:
- ALL CAPS
- Multiple exclamation marks
- Spammy promotional language
Include Unsubscribe Links
This is required for compliance and reduces spam complaints.
Common GoHighLevel Email Setup Mistakes
Avoid these frequent issues:
Skipping Domain Authentication
The biggest cause of spam folder placement.
Incorrect SMTP Credentials
One wrong character can prevent delivery.
Sending Large Campaigns Immediately
Warm up new domains first.
Poor Mobile Experience
Most recipients read emails on mobile devices.
Using Purchased Email Lists
This damages deliverability and sender reputation.
Troubleshooting Email Issues in GoHighLevel
Emails Not Sending
Check:
- SMTP credentials
- Domain verification status
- Workflow configuration
- Contact email validity
Domain Verification Failed
Verify:
- DNS records are correct
- No extra spaces exist
- Records have fully propagated
Emails Going to Spam
Review:
- SPF, DKIM, DMARC setup
- Domain reputation
- Email content quality
- Sending volume
Also Read: How to fix Emails going to spam
Advanced Email Setup Tips
Once your foundation is in place, consider these advanced strategies:
Use Personalization Tokens
Examples:
- First Name
- Company Name
- Appointment Date
- Custom Fields
Personalized emails often outperform generic broadcasts.
Implement Segmentation
Group contacts based on:
- Interests
- Purchase behavior
- Funnel stage
- Engagement level
Run A/B Tests
Test:
- Subject lines
- CTA buttons
- Send times
- Email copy
Small improvements can significantly increase conversions.
Frequently Asked Questions
How Long Does GoHighLevel Email Setup Take?
Most users can complete setup in 30–60 minutes.
Can I Connect Multiple Domains?
Yes. GoHighLevel allows multiple authenticated domains and sending accounts.
Do I Need an SMTP Provider?
While not always required, dedicated SMTP providers typically offer better scalability and control.
Which SMTP Provider Is Best?
For most users:
- SendGrid → Beginner-friendly
- Mailgun → Flexible APIs
- Amazon SES → Lowest cost
- Postmark → Excellent reliability
Final Thoughts
Learning how to set up email in GoHighLevel properly is one of the most important steps toward building a successful marketing system.
By authenticating your domain, connecting a reliable SMTP provider, creating professional templates, and implementing automated workflows, you’ll improve deliverability, increase engagement, and generate better results from every campaign.
Take the time to configure everything correctly from the beginning, and your email marketing efforts will be far more effective in the long run.