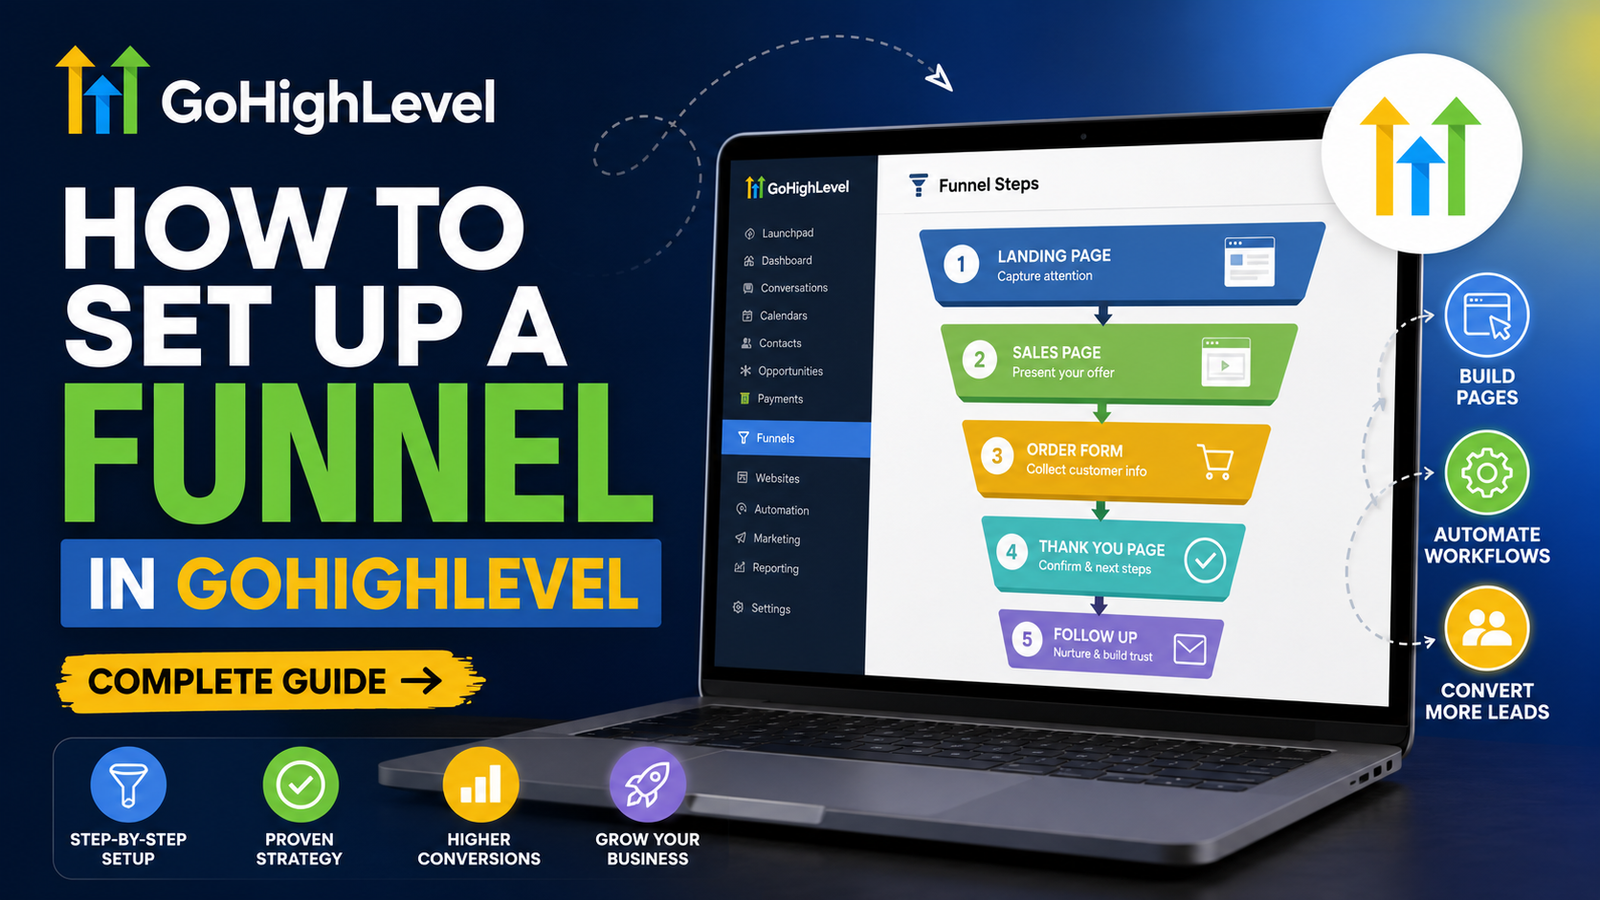
How to set up a funnel in GoHighLevel – Complete Guide
New GoHighLevel users often feel overwhelmed when they first hear terms like “funnels,” “pipelines,” and “workflows.” The good news is that building a simple, high-converting funnel in GoHighLevel is much easier than it looks once you understand the core pieces and follow a clear, step‑by‑step process.
Below is a comprehensive guide on how to set up a funnel in GoHighLevel, written specifically for beginners who want a practical, real‑world walkthrough rather than theory. You can adapt this process for lead generation, free consultations, or straight‑up sales funnels.
What is a funnel in GoHighLevel?
A funnel in GoHighLevel is a series of connected pages that guide a visitor from first click to becoming a lead or customer. Think of it as a structured path: landing page → opt‑in or checkout → thank‑you or upsell → follow‑up emails/SMS.
In GoHighLevel, funnels live under the Sites section and are tightly connected to forms, workflows, pipelines, and payments. That means your GoHighLevel funnel setup can capture leads, trigger automations, move deals in your CRM, and even collect payments in one place.
Step 1: Clarify your funnel goal
Before you click anything inside the platform, define what this funnel should do. Common beginner‑friendly goals include:
- Generate leads for a service (e.g., free consultation funnel)
- Collect webinar registrations
- Sell a digital product or low‑ticket offer
- Build an email list with a free lead magnet
Your “funnel goal” determines:
- What type of pages you need (lead gen vs. sales vs. webinar)
- What form fields you collect
- What automation needs to fire after someone opts in
Having this clarity makes your GoHighLevel funnel setup faster and prevents random, disconnected steps.
Step 2: Create a new funnel in GoHighLevel
Once you have your goal, log into your GoHighLevel account and head to the funnel builder.
Typical navigation for beginners:
- Open your sub‑account
- Go to Sites → Funnels
- Click New Funnel or Create Funnel
GoHighLevel gives you a few options for how to start:
- From Blank – build your funnel from scratch
- From Templates – use a pre‑designed funnel
- Build with AI – generate a funnel using AI
For new GoHighLevel users, starting from a funnel template is usually the easiest. Name your funnel (e.g., “Free Consultation Funnel”). This step officially creates the funnel container. Inside it, you’ll add each “funnel step” (page) you need.
Step 3: Add funnel steps (pages)
Each funnel “step” is a page in your customer journey: landing page, opt‑in page, thank‑you page, upsell, etc.
To add steps:
- Open your funnel
- Click Add New Step
- Name each step clearly (e.g., “Landing Page,” “Opt‑In,” “Thank You”)
Common funnel structures for beginners:
- Lead gen funnel: Landing page → Thank‑you page
- Appointment funnel: Landing page → Booking page → Thank‑you page
- Sales funnel: Sales page → Order form → Upsell → Confirmation page
When you create a step, GoHighLevel asks for a path (URL slug). For example:
/or/offerfor the main landing page/thank-youfor the confirmation page
Keep these slugs short and readable. This helps both SEO and user experience.
Step 4: Design your funnel pages with the drag‑and‑drop builder
Now it’s time to make each page look good and convert. Click on any funnel step to open the GoHighLevel drag‑and‑drop page builder. Here’s what you can do inside the builder:
- Add sections, rows, and elements
- Drag text, images, buttons, forms, videos, and countdown timers onto the page
- Edit headlines and body copy inline
- Customize fonts, colors, and spacing to match your brand
At minimum, a high‑converting funnel page needs:
- A clear headline explaining the benefit
- A subheadline that reinforces what they get
- A simple form or button (call‑to‑action)
- Trust elements like testimonials or bullet points
GoHighLevel lets you preview your funnel in desktop, tablet, and mobile views so you can ensure the design is responsive. Always check mobile, because a large share of funnel traffic comes from phones.
Step 5: Create and connect a form
To capture leads, you need a form that collects data and sends it into your CRM.
To create a form in GoHighLevel:
- Go to Sites → Forms → Builder
- Create a new form and add fields like Name, Email, Phone, and any custom questions you need
- Save the form
Next, integrate that form into your funnel page:
- Open your funnel page in the builder
- Drag the Form element onto the page
- Choose your form from the dropdown list
Once your form is embedded, any submission will create a contact in your GoHighLevel CRM and can trigger automations, pipeline updates, and notifications (If set by you).
For brand‑new GoHighLevel users, this is where your funnel truly starts to function as a “lead generation funnel” instead of just a static landing page.
Step 6: Add payments and order forms (optional)
If your funnel sells a product, service package, or low‑ticket offer, connect payments so you can collect revenue directly inside GoHighLevel.
To set up payments:
- Go to Payments → Integrations
- Connect your Stripe account
- Configure your products or offers
Then:
- Open the relevant funnel step (e.g., sales page or checkout page)
- Drag the Order Form element onto the page
- Select your product and specify the price and payment options
For more advanced funnels, you can also:
- Add order bumps
- Create upsell/downsell pages as extra funnel steps
- Trigger post‑purchase workflows for product delivery or onboarding
All of this still lives inside the same GoHighLevel funnel, making it easy to monitor conversions and revenue.
Step 7: Configure domains and publishing
A funnel is not complete until it has a clean, branded URL and is live.
To connect a domain:
- Go to Settings → Domains → Add New Domain
- Enter your domain or subdomain (e.g.,
offers.yourdomain.com) - Follow the GoHighLevel DNS instructions and add the CNAME record at your domain host
Once DNS is set:
- Return to your funnel
- Open the Funnel Settings
- Choose the domain and set the default path (e.g.,
/or/offer) - Click Publish or Save
Now your GoHighLevel funnel is live and can be shared in ads, emails, or social posts.
Step 8: Test your funnel end‑to‑end
Even a simple beginner funnel can break if one link, form, or automation step is misconfigured. Testing is non‑negotiable.
Here’s a basic test checklist:
- Use Preview mode to check each funnel step
- Submit the form as a test lead
- Confirm the contact appears in the CRM
- Verify that automation emails and SMS messages are sent correctly
- If payments are involved, run a test transaction
- Check that pipeline stages update as expected
Also check mobile responsiveness and loading speed for every page. Fix any layout issues before you start sending traffic.
Final Notes
This streamlined setup is enough to get your first GoHighLevel funnel live, functional, and ready to convert—even if you’ve never built a funnel before. Start simple, test thoroughly, and then gradually add advanced features like upsells, SMS follow‑ups, and deeper automation as you grow confident. With each iteration, your funnel will become faster, more targeted, and more profitable.