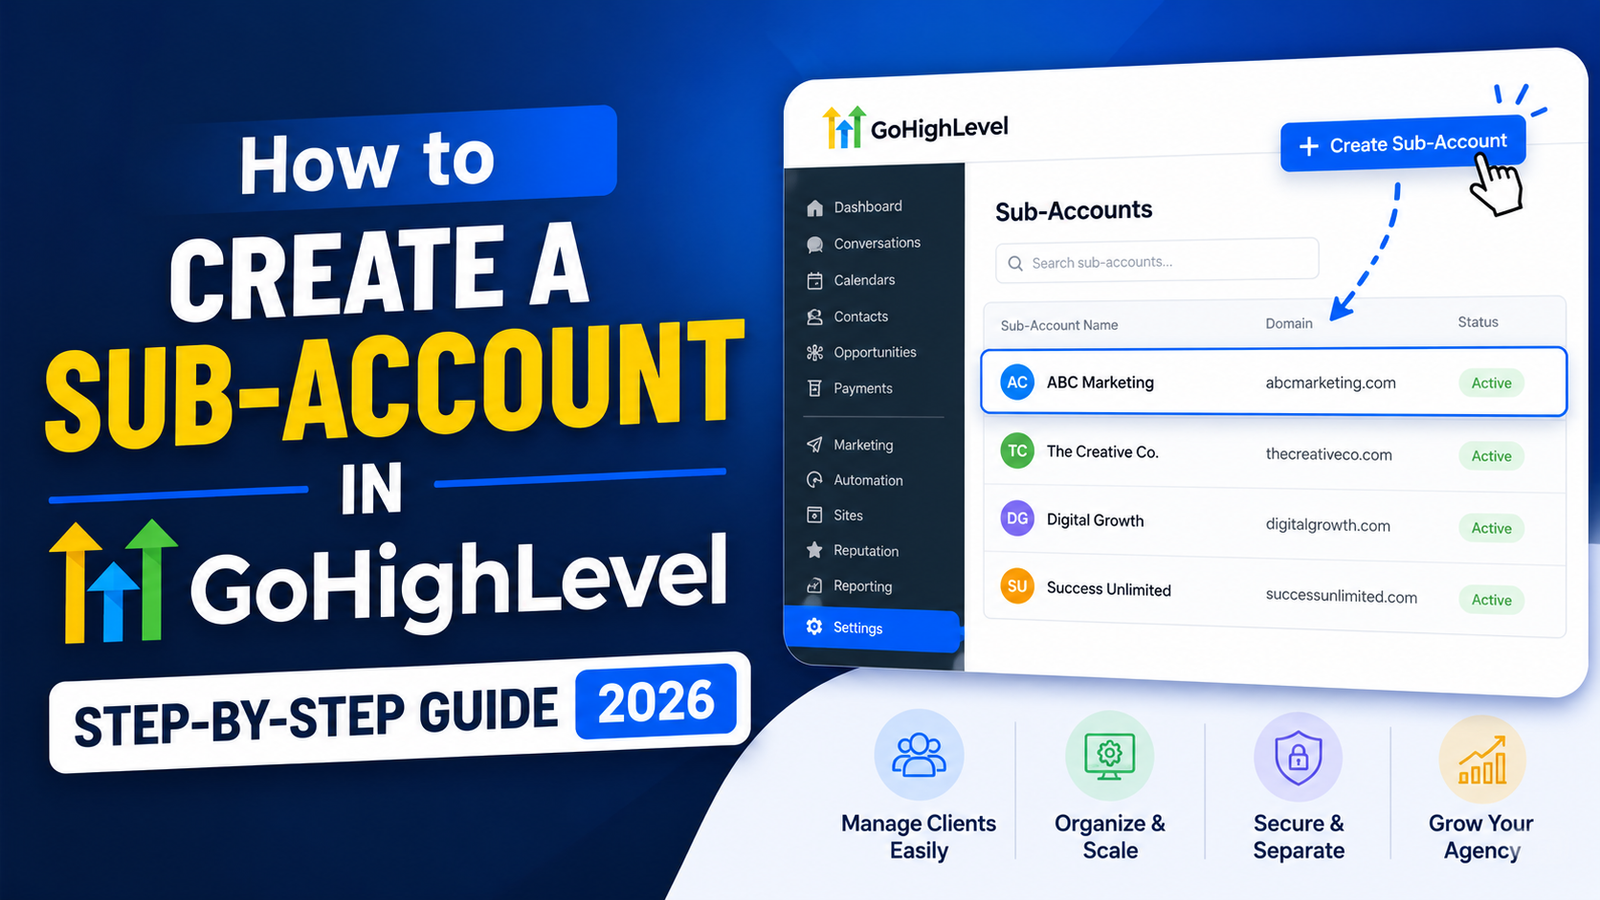
How to Create a Sub-Account in GoHighLevel (Step-by-Step Guide 2026)
Description: Learn how to create a sub-account in GoHighLevel with this complete step-by-step guide. Manage multiple clients, streamline your agency workflow, and scale faster with GHL sub-accounts.
If you’re running a digital marketing agency or managing multiple clients, GoHighLevel (GHL) is likely already in your toolkit — or it should be. One of the platform’s most powerful features is the ability to create sub-accounts, allowing you to manage each client in a completely separate, isolated environment under one agency roof.
In this comprehensive guide, we’ll walk you through exactly how to create a sub-account in GoHighLevel, explain why it matters, and share pro tips to help you get the most out of your GHL agency setup.
What Is a GoHighLevel Sub-Account?
Before diving into the steps, let’s clarify what a sub-account actually is in the context of GoHighLevel.
A GoHighLevel sub-account (previously called a “location”) is a dedicated workspace created within your agency-level account. Each sub-account acts as a completely separate CRM environment tailored to a specific client or business. It has its own:
- Contacts and pipelines
- Funnels and websites
- Calendars and appointment settings
- Automations and workflows
- Email and SMS campaigns
- Reputation management tools
Think of your GoHighLevel agency account as the parent, and each sub-account as a child account for an individual client. You can create unlimited sub-accounts (depending on your plan), white-label the platform, and give each client access to their own branded dashboard.
This architecture is what makes GoHighLevel one of the best CRM platforms for marketing agencies looking to scale without the chaos of managing dozens of disconnected tools.
Why Creating Sub-Accounts in GoHighLevel Matters
Understanding why sub-accounts are important helps you use them more strategically. Here’s what you gain:
1. Client Isolation & Privacy Each client’s data stays completely separate. There’s no risk of accidentally sharing one client’s contacts, campaigns, or sensitive information with another.
2. Scalable Agency Operations Instead of building everything from scratch for each client, you can use GoHighLevel snapshot templates to clone proven setups — funnels, automations, and pipelines — into new sub-accounts in minutes.
3. White-Label Branding With GoHighLevel’s white-label capability, your clients log into a platform branded with your agency logo and domain — not GoHighLevel’s. Sub-accounts make this seamless.
4. Centralized Management You get a bird’s-eye view of all your client accounts from one dashboard, making reporting, support, and account switching incredibly efficient.
5. Revenue Generation Through SaaS Mode GoHighLevel’s SaaS (Software as a Service) mode allows you to resell the platform to clients as your own software product. Each sub-account can be billed separately, turning your CRM into a recurring revenue stream.
Requirements Before Creating a Sub-Account
To create a sub-account in GoHighLevel, you need:
- An active GoHighLevel Agency account (Starter, Unlimited, or SaaS plan)
- Admin-level or agency owner access
- Basic client information (business name, address, contact details)
If you’re on the Agency Starter Plan, you’re limited to two sub-accounts. Upgrading to the Agency Unlimited Plan or SaaS Pro Plan removes this restriction and unlocks full scalability.
How to Create a Sub-Account in GoHighLevel: Step-by-Step
Follow these steps carefully to set up a new sub-account in GoHighLevel:
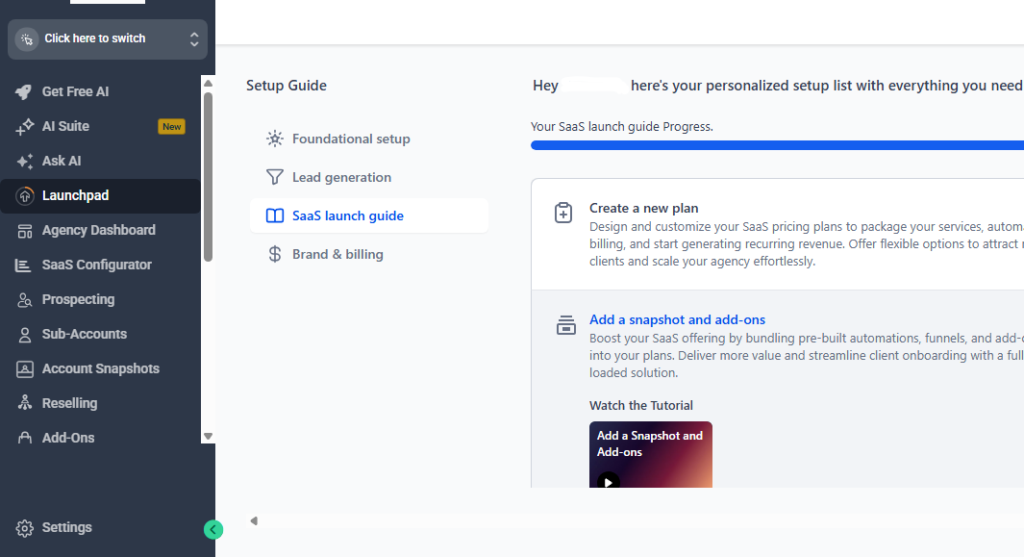
Step 1: Log Into Your GoHighLevel Agency Dashboard
Go to your agency portal at app.gohighlevel.com and sign in with your agency admin credentials. Make sure you’re viewing the Agency View (not a specific sub-account). You’ll know you’re in the right place when you see the agency-level navigation menu on the left sidebar.
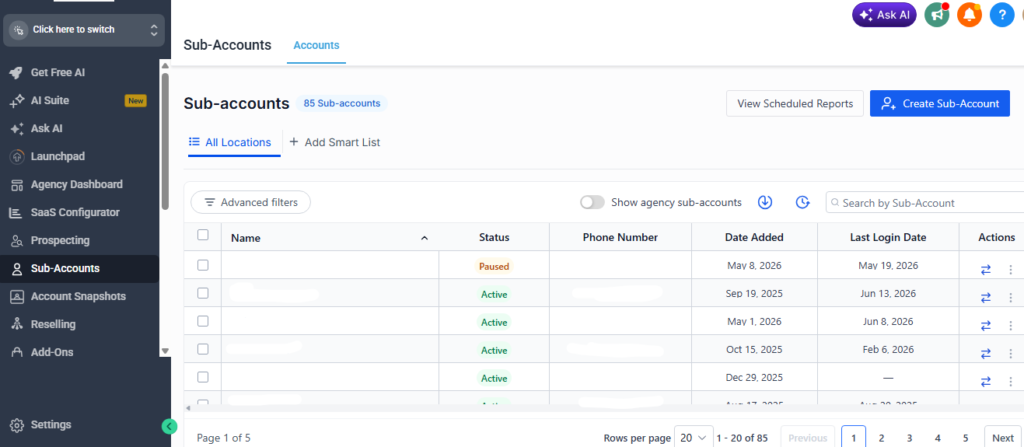
Step 2: Navigate to “Sub-Accounts”
In the left-hand sidebar of your agency dashboard, look for the “Sub-Accounts” option. Click on it. This will take you to a list of all your existing client sub-accounts (or an empty state if you’re just getting started).
Pro Tip: GoHighLevel recently updated its terminology from “Locations” to “Sub-Accounts.” If you’re on an older version of the interface, look for “Locations” instead.
Step 3: Click “Create Sub-Account”
In the top-right corner of the Sub-Accounts page, you’ll find a prominent “Create Sub-Account” (or “+ New Sub-Account”) button. Click it to initiate the setup process.
Step 4: Choose Your Setup Method
GoHighLevel gives you two options for setting up a new sub-account:
Option A — Start from Scratch: Build the sub-account manually by entering all client details and configuring settings from the ground up.
Option B — Use a Snapshot: If you’ve already built out a GoHighLevel snapshot (a saved template of your best-performing setup), you can import it directly into the new sub-account. This is the recommended approach for agencies because it saves hours of setup time.
For this guide, we’ll walk through the full manual setup so you understand every field.
Step 5: Enter the Business Information
Fill in the following fields for your client’s sub-account:
- Business Name: Enter the client’s full business name as they’d like it to appear in the platform.
- Phone Number: The primary business phone number. This is used for call tracking and two-way SMS features.
- Email Address: The client’s main business email.
- Website: Their business website URL (optional but recommended for branding purposes).
- Business Address: Street address, city, state, zip code, and country. This is important for local SEO tools and Google Business Profile integrations within GHL.
- Industry/Vertical: Select the most appropriate business category from the dropdown. This helps GoHighLevel pre-populate relevant templates and suggestions.
- Time Zone: Critical for automations, appointment scheduling, and campaign delivery. Always double-check this setting.
Take your time filling out this section accurately — many automation triggers, reminders, and reports depend on the information entered here.
Step 6: Configure the Sub-Account Snapshot (Optional but Recommended)
If you have a snapshot ready, you’ll see an option to “Load Snapshot” during or after the creation process. A snapshot can include:
- Pre-built funnels and landing pages
- Email and SMS automation workflows
- Pipeline stages and opportunity tracking
- Pre-written email/SMS templates
- Calendar and appointment configurations
Simply select the appropriate snapshot from your library and GoHighLevel will automatically import all assets into the new sub-account. This is one of GHL’s most powerful features for agency automation and client onboarding at scale.
Step 7: Set Up the Sub-Account User Access
Once the sub-account is created, you can invite your client to access their account. Navigate to:
Sub-Account Settings → Team Management → Add User
You can assign them the role of:
- Admin – Full access to all sub-account features
- User – Limited access based on permissions you define
Send them an invitation email directly from within GoHighLevel. They’ll receive a login link and can set up their password.
Best Practice: Most agencies keep clients in a custom white-labeled view with limited permissions, so they don’t accidentally break automations or pipelines.
Step 8: Connect Integrations and Communication Channels
Before handing off the sub-account to your client, make sure you’ve connected the essential integrations:
- Twilio or LeadConnector – For two-way SMS and call tracking
- Mailgun or SMTP – For email sending
- Google My Business – For reputation management and review requests
- Facebook/Instagram – For social messaging and lead ads
- Stripe – For payment collection through funnels and invoices
- Google Analytics & Meta Pixel – For funnel tracking and retargeting
These connections are found under Sub-Account Settings → Integrations.
Step 9: Test the Sub-Account Before Going Live
Always run a quick QA (quality assurance) check before introducing the client to their new account. Test:
- A sample contact form submission to verify lead capture works
- An automation trigger to ensure workflows fire correctly
- A test SMS or email to confirm delivery
- Calendar booking to check appointment confirmations are sent
Catching issues early saves you time and maintains your professional reputation with clients.
Managing Multiple Sub-Accounts Efficiently
Once you start scaling to 10, 20, or even 50+ sub-accounts, organization becomes critical. Here are some expert tips:
Use Consistent Naming Conventions: Name each sub-account clearly (e.g., “ClientName – Industry – City”) so you can quickly identify them in your dashboard.
Build Niche-Specific Snapshots: Create a different snapshot for each industry you serve (roofing, dental, real estate, etc.). This lets you spin up new client accounts in under 10 minutes.
Leverage the GoHighLevel Agency Dashboard Reporting: Monitor performance across all sub-accounts from one place — track pipeline values, conversation volumes, and campaign activity without logging into each account individually.
Set Up a Standard Onboarding Automation: Build a GoHighLevel workflow that fires when a new sub-account is created, sending onboarding instructions and resources to your client automatically.
Common Mistakes to Avoid When Creating GHL Sub-Accounts
Even experienced GHL users make these errors. Watch out for:
- Wrong time zone settings – This causes automations to fire at the wrong time, frustrating clients and their customers.
- Skipping snapshot setup – Building from scratch every time is a massive time drain. Always invest in a proper snapshot library.
- Giving clients too much access – Full admin access means clients can accidentally delete workflows or change critical settings. Use role-based permissions wisely.
- Not testing before handoff – A broken form or failed automation on day one destroys client trust.
- Using the same phone number across multiple sub-accounts – Each sub-account should have its own dedicated number for proper lead attribution and compliance.
GoHighLevel Sub-Account Pricing: What You Need to Know
GoHighLevel’s pricing structure directly affects how many sub-accounts you can create:
- Agency Starter Plan (~$97/month): Up to 2 sub-accounts
- Agency Unlimited Plan (~$297/month): Unlimited sub-accounts — the sweet spot for growing agencies
- SaaS Pro Plan (~$497/month): Unlimited sub-accounts + SaaS mode to resell GHL as your own software
For any agency managing more than 2 clients, the Agency Unlimited Plan is the minimum recommended investment. The ROI becomes obvious once you start charging clients even a modest monthly retainer.
Frequently Asked Questions About GoHighLevel Sub-Accounts
Can I delete a sub-account in GoHighLevel? Yes. Navigate to the Sub-Accounts section, find the account, click the options menu, and select “Delete.” Be cautious — this action is permanent and removes all data associated with that sub-account.
Can clients log into their own sub-account? Absolutely. You can create user credentials for each client and give them access to their white-labeled dashboard. They’ll see your branding, not GoHighLevel’s.
Is there a limit to how many sub-accounts I can create? On the Unlimited and SaaS plans, there is no hard cap. You can create as many sub-accounts as your business requires.
Can I transfer a sub-account to another agency? GoHighLevel does allow sub-account transfers in certain situations. Contact GHL support for guidance on the process.
Final Thoughts: Scale Your Agency with GoHighLevel Sub-Accounts
Creating and managing sub-accounts in GoHighLevel is one of the most high-leverage skills you can develop as a modern digital marketing agency owner. It allows you to onboard clients faster, deliver better results, and build a scalable, repeatable system that grows without burning you out.
Whether you’re onboarding your first client or your fiftieth, the sub-account architecture in GoHighLevel is designed to support you at every stage. Master this process, build a solid snapshot library, and watch your agency operations transform from chaotic to systematic.